How to Integrate WAX ExpressTrade into a Website
This tutorial is intended to teach how to integrate WAX Expresstrade, into any Node.js socket based web application, with preexisting basic knowledge about coding and server structure. The explanations in this tutorial is also built upon implying, that you have previous knowledge or experience with developing or dealing with applications using the Steam Web API.
This tutorial will only focus on the server-side. Everything needed to use WAX Expresstrade is shown and explained, but you will have to design and create the client-side yourself.
Content
Throughout this tutorial, we'll be using the following:
At least one Opskins account with a registered API key, and its 2FA code. One account can hold unlimited amounts of digital items, so it's no longer required to have one account per 1000 items, as it was when Steam bots were required to run an online trading or gambling platform. It still might be a good idea to have more than one bot account, to improve server performance. This tutorial uses only one account.Node.js and NPM for managing packages. I suggest using Node.js 8.9.4 or higher for the best possible stability and package support.Socket.io (Or other real-time engine, if you prefer that)The following Node.js modules: Express | Expresstrade | Opskins-OAuth | Passport | Passport-custom | FsTrade.opskins.com API documentation
Server Basics
Before we're getting into handling the API and start sending requests, we'll need a basic and stable Node.js server.
I recommend running it over https, with a free ssl certificate from Letsencrypt. If you prefer running it non-secure for some reason, or don't want to register a certificate, you can just run a simple http server.
Below is my example of a basic Node.js server.
var https = require('https');
var fs = require('fs');
var socket = require('socket.io');
// Server listen and ssl
var app =require('express')();
var server = https.createServer({
key: fs.readFileSync('/PATH_TO_YOUR_PRIVATEKEY/privkey.pem'),
cert: fs.readFileSync('/PATH_TO_YOUR_CHAIN/fullchain.pem')
},app);
server.listen(3000);
var io = socket.listen(server);
Configuring Expresstrade and Opskins user authentication
To be able to fetch user data, and send requests using the Opskins Trade API, we'll need to configure both the Exprestrade service and the Opskins user authentication API.
Below is the easiest way to do so.
// Our special modules
const ExpressTrade = require('expresstrade');
const passport = require('passport');
const CustomStrategy = require('passport-custom');
const opAuth = require('opskins-oauth');
// Creating a new Expresstrade session
const ET = new ExpressTrade({
apikey: 'YOUR_APIKEY',
twofactorsecret: 'THE_2FA_CODE_TO_THE_SAME_ACCOUNT_AS_THE_APIKEY',
pollInterval: 'HOW_OFTEN_YOU_WANT_TO_POLL' // In ms, example "5000".
});
// Delcaring basic site info and creating an Opskins session.
let OpskinsAuth = new opAuth.init({
name: 'YOUR_SITE_NAME', // Site name displayed to users on logon
returnURL: 'http://YOURDOMAIN.COM/auth/opskins/authenticate', // Your return route
apiKey: 'YOUR_APIKEY', // OPSkins API key
scopes: 'identity deposit withdraw', // Scopes you want to access, read more at https://docs.opskins.com/public/en.html#scopes.
mobile: true // Removes login navbar if true
});
// Authenticating the user
passport.use('custom', new CustomStrategy(function (req, done) {
OpskinsAuth.authenticate(req, (err, user) => {
if (err) {
done(err);
} else {
done(null, user);
}
});
}));
/ Routes /
// Redirect user to login.
app.get('/auth/opskins', function (req, res) {
res.redirect(OpskinsAuth.getFetchUrl());
});
// Authenticate user when trying to login
app.get('/auth/opskins/authenticate', passport.authenticate('custom', {
failureRedirect: '/'
}), function (req, res) {
res.redirect('/');
});
// Our home, making it possible to fetch userdata from the clientside.
app.get('/', function (req, res) {
// Send res.user information. Example: res.end('info');
});
// We also want the user to be able to logout again.
app.get('/logout', (req, res) => {
req.logout();
res.redirect('/');
});
The routes leading to the authentication code above, means that you must redirect your users to YOURDOMAIN.COM/auth/opskins, to make it possible for them to send a login request.
Registering after login
After our user has logged in, by sending a request to YOURDOMAIN.COM/auth/opskins, their data has been stored in our passport session, assigned to the socket id they requested the login from.
We then need to be able to identify our user throughout the actions we want to perform, based on the socket connection. If we can't identify our user, we cant fetch their data or send any user related request to the Opskins Trade API.
So when the user contacts the socket after the login, we'll have to assign their data to their session.
Below is how I would do so.
io.on('connection', socket => {
var user;
// If logged in, assign userdata to socket session variable
if (socket.handshake.session.passport && socket.handshake.session.passport.user) {
user = socket.handshake.session.passport.user;
}
});
We can now throughout the user's session, receive their data by fetching the variable user.
If the user wants to make a request, we can send their data to the Opskins Trade API.
All user-action-based code must be placed within the socket connection.
Inventories and caching
When you've created the basics of your website, with WAX Expresstrade integrated, you probably want to load either your own, your user's or both inventories.
Depending on how often you want to load an inventory, it might be a good idea to store each load as a cache, to reduce stress, improve load time and minimize the chances of a network request cooldown.
This can be stored either in a database, in a simple object array, or a more advanced in-memory data structure, such as Redis.
Below is demonstrated the basics of how to load inventories, depending on a force refresh.
Please notice that the examples below, use custom socket communication variables, such as loadUserInventory, userInventory and error. You will of course need to customize these variables to work together with your client-side.
Notice also, that we access the user's Steam 64 ID by calling user.id64.
// User inventory, as from a user socket request.
socket.on('loadUserInventory', function() {
ET.ITrade.GetUserInventoryFromSteamId({steam_id: user.id64}, (err, body) => {
if (err) {
return;
} else {
if (body.status == 1) {
// Inventory loaded successfully
var inventory = [];
body.response.items.forEach(function(item) {
inventory.push({
id: item.id,
category: item.category,
name: item.name,
img: item.image['600px'],
color: item.color,
price: item.suggested_price
});
});
socket.emit('userInventory', {
content: inventory
});
} else {
// Inventory could not load
socket.emit('error', {
content: 'INVENTORY_COULD_NOT_LOAD'
});
}
}
});
});
// Own inventory, as from a user socket request.
socket.on('loadBotInventory', function() {
ET.IUser.GetInventory((err, body) => {
if (err) {
return;
} else {
if (body.status == 1) {
// Inventory loaded successfully
var inventory = [];
body.response.items.forEach(function(item) {
inventory.push({
id: item.id,
category: item.category,
name: item.name,
img: item.image['600px'],
color: item.color,
price: item.suggested_price
});
});
socket.emit('botInventory', {
content: inventory
});
} else {
// Inventory could not load
socket.emit('error', {
content: 'INVENTORY_COULD_NOT_LOAD'
});
}
}
});
});
If wanted, you can always filter inventory objects, based on either an item's name or price.
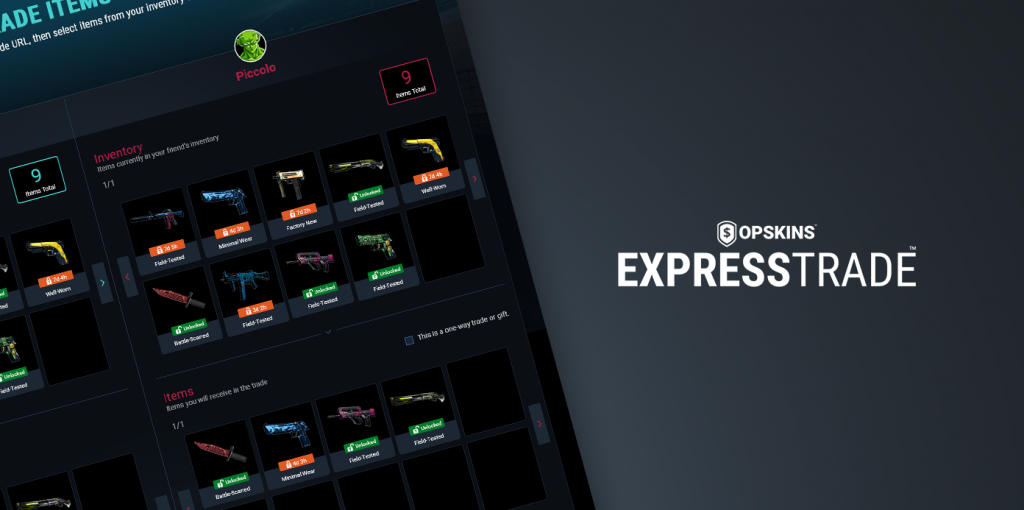
Sending and receiving tradeoffers
When you've loaded either you own, your user's or both inventories, you might want to either send a tradeoffer, containing items from one or both sides, or be able to receive a tradeoffer from a user.
When sending an offer, you need to know which item ids you want to include. These ids could be the ones we fetched in the inventory loading part.
You might want your user to be able to choose between which of their and or your items, to be added to the tradeoffer you're sending. No matter how you declare the item ids, both your and the recipient item ids should be stored in the same array.
In the code below, I've made a random array of item ids, just to demonstrate how to send a tradeoffer. Please again notice that the examples below, use custom socket connection variables, such as tradeSent and error. You will of course need to customize these variables to work together with your client-side.
Notice also, that we again access the user's Steam 64 ID by calling user.id64.
var items = [12, 34, 56, 78, 90];
socket.on('sendTrade', function() {
ET.ITrade.SendOfferToSteamId({steam_id: user.id64, items: items.toString(), message: 'Knuthy'}, (err, body) => {
if (err) {
return;
} else {
if (body.status == 1) {
// Trade sent successfully
socket.emit('tradeSent', {
id: body.response.offer.id,
items: items
});
} else {
// Trade could not be sent
socket.emit('error', {
content: 'INVENTORY_COULD_NOT_LOAD'
});
}
}
});
});
You can always add a custom message to the tradeoffer. This can be used for security measures.
We will always receive a message when one of our tradeoffer changes. A tradeoffer can have the following states:
offerSentofferAcceptedofferExpiredofferCancelledofferDeclinedofferNoLongerValid You can read more about what the tradeoffer states mean here.
Every offer will always consist of a Standard Trade Offer Object
Below is an example of how to handle a sent tradeoffer, that has been accepted
ET.on('offerAccepted', offer => {
// Handle the data however you would like
console.log(`Tradeoffer: offer.id has been accepted`);
});
We can also always receive tradeoffers, and handle them.
Below is an example of how to cancel all incoming tradeoffers.
ET.on('offerReceived', (_offer) => {
console.log(_offer.id)
ET.ITrade.CancelOffer({offer_id: _offer.id})
});
Summary
You can use the above methods and examples to create a website using WAX Expresstrade, to be able to receive user data from Opskins and send and receive tradeoffers.
Error codes can be looked up here
I recommend reading the Trade.opskins.com API documentation, if you have any problems regarding the GET and POST requests, or if you wish to do other requests.